3d Modelling Labs
The labs this semester have involved working with 3d software like Blender and 3ds Max, both are used for creating 3d models that we can use to create video game assets. Our first task was to get used to the basics like moving around and making sure we have a clear understanding of the fundementals of 3d modelling.
1.1 ArchWay Iteration
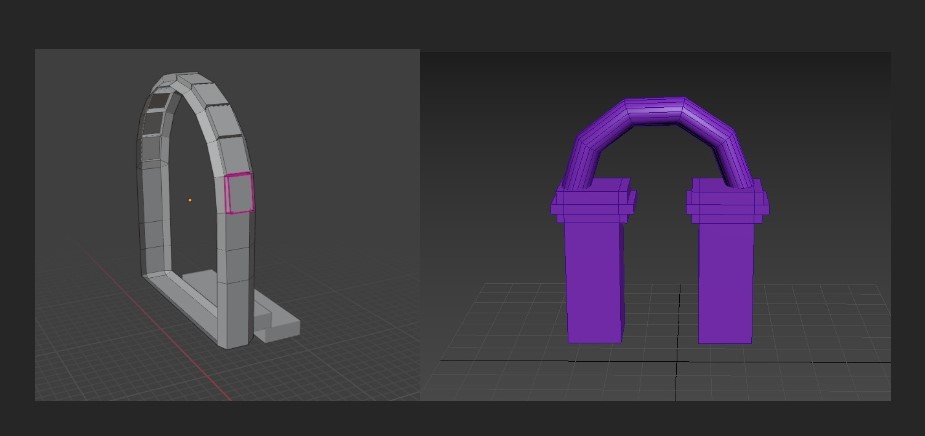
The image on the left was created in Blender and the image on the right was created in 3ds Max. I wanted to create the models in Blender and 3DS Max to show my approach to the tools and there are some similarities and some differences regarding tools. I decided to complete the work in 2 softwares. I decided that 3DS Max would be the best choice for this mainly because I have spent the most time working with 3DS Max.
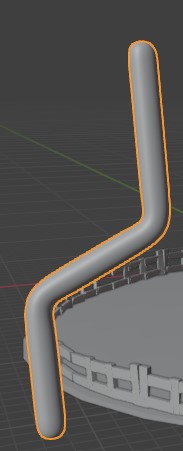
1.2 Bend/Curve tool
The most important tool for the task was working with the curve tools that allowed me to create the arch and extrude the object so that it was kept alonside the pillers. I had used this tool before in the past within college work and past projects. The bend curve tool is always important for any model so it was important that I knew how to use it when needed.
1.3 ArchWay Final Renders
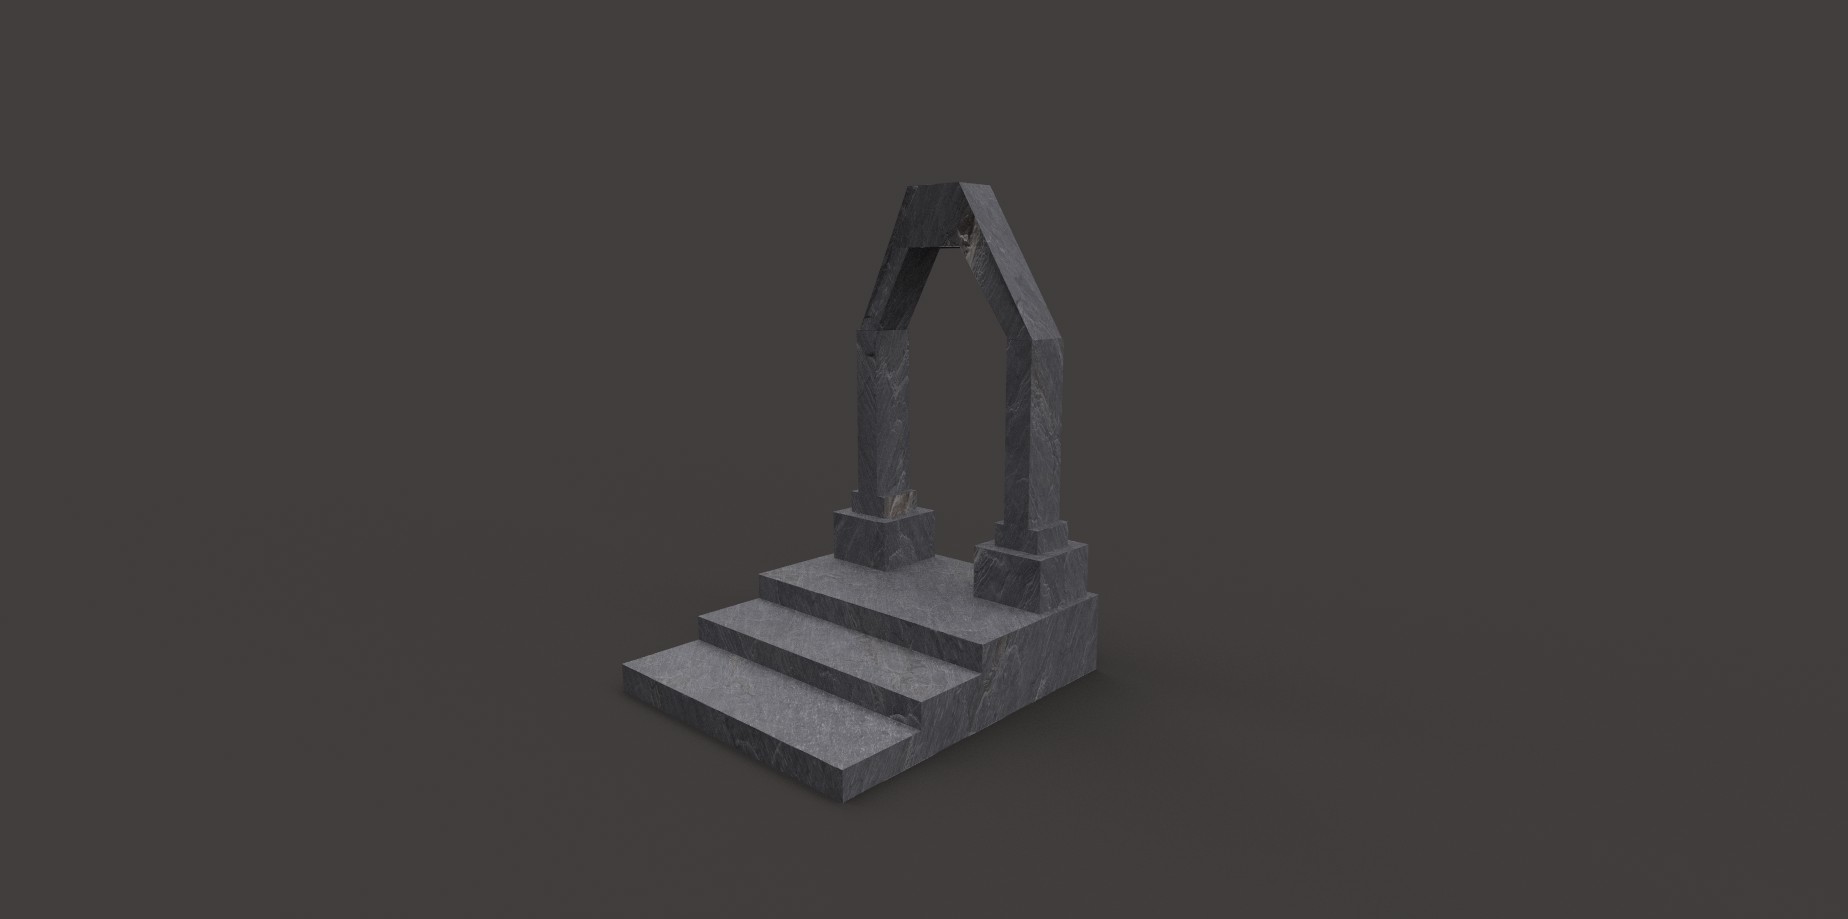
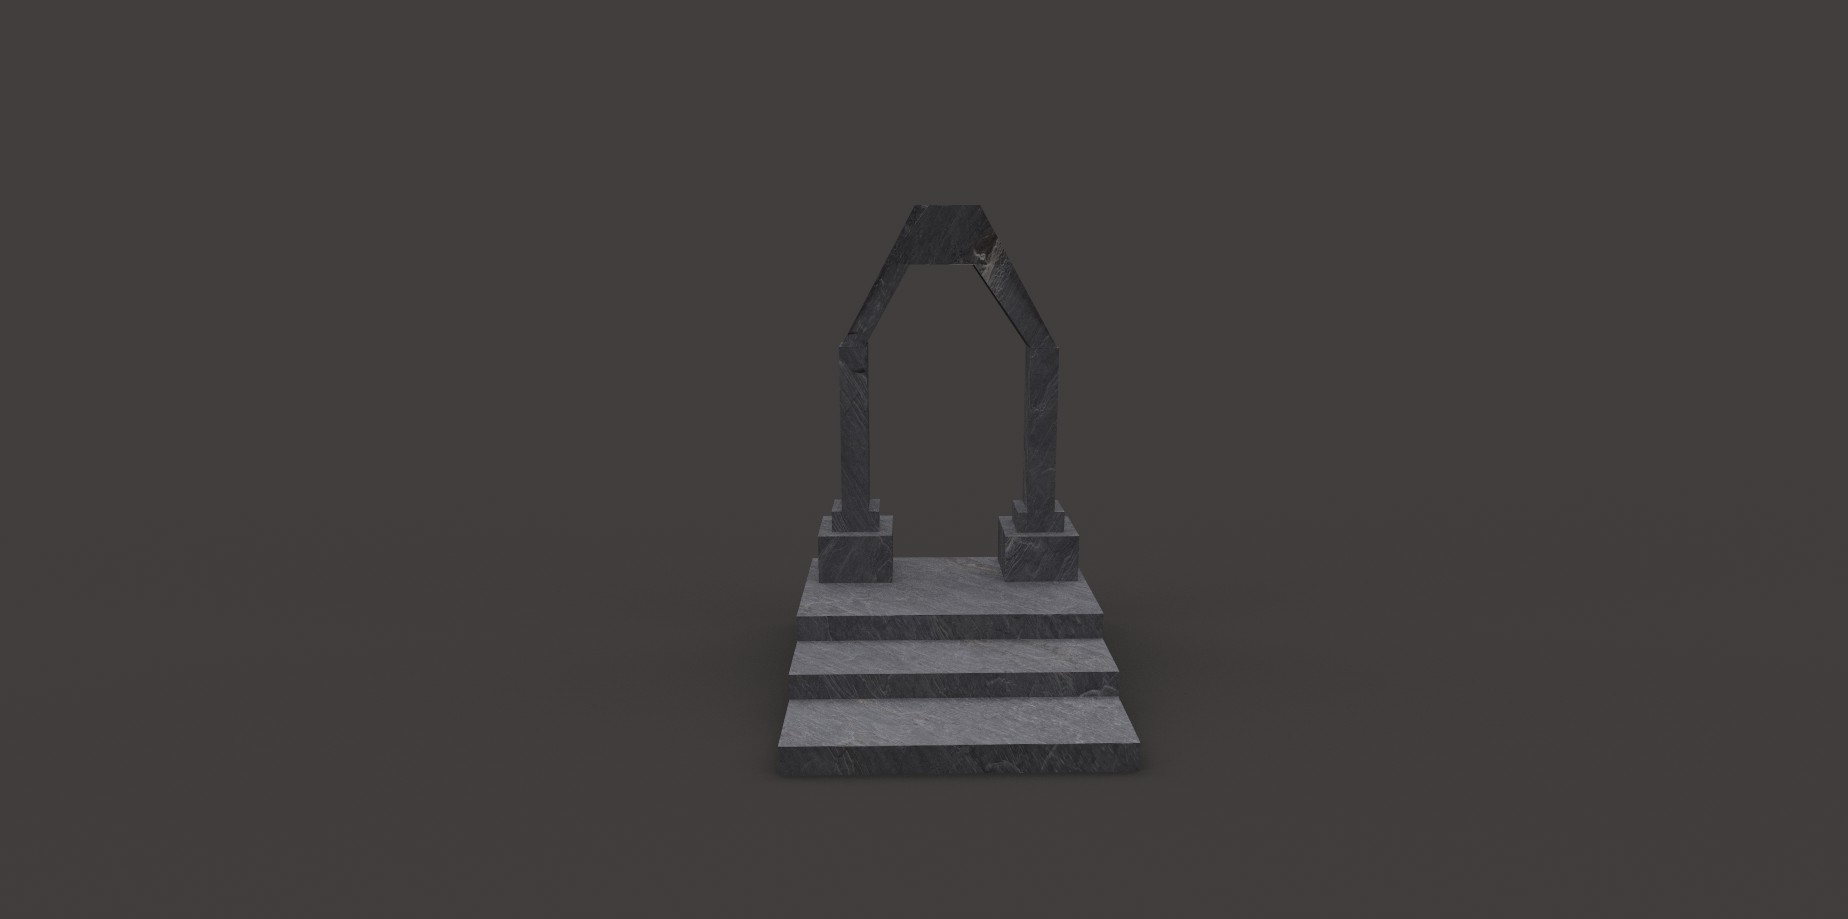
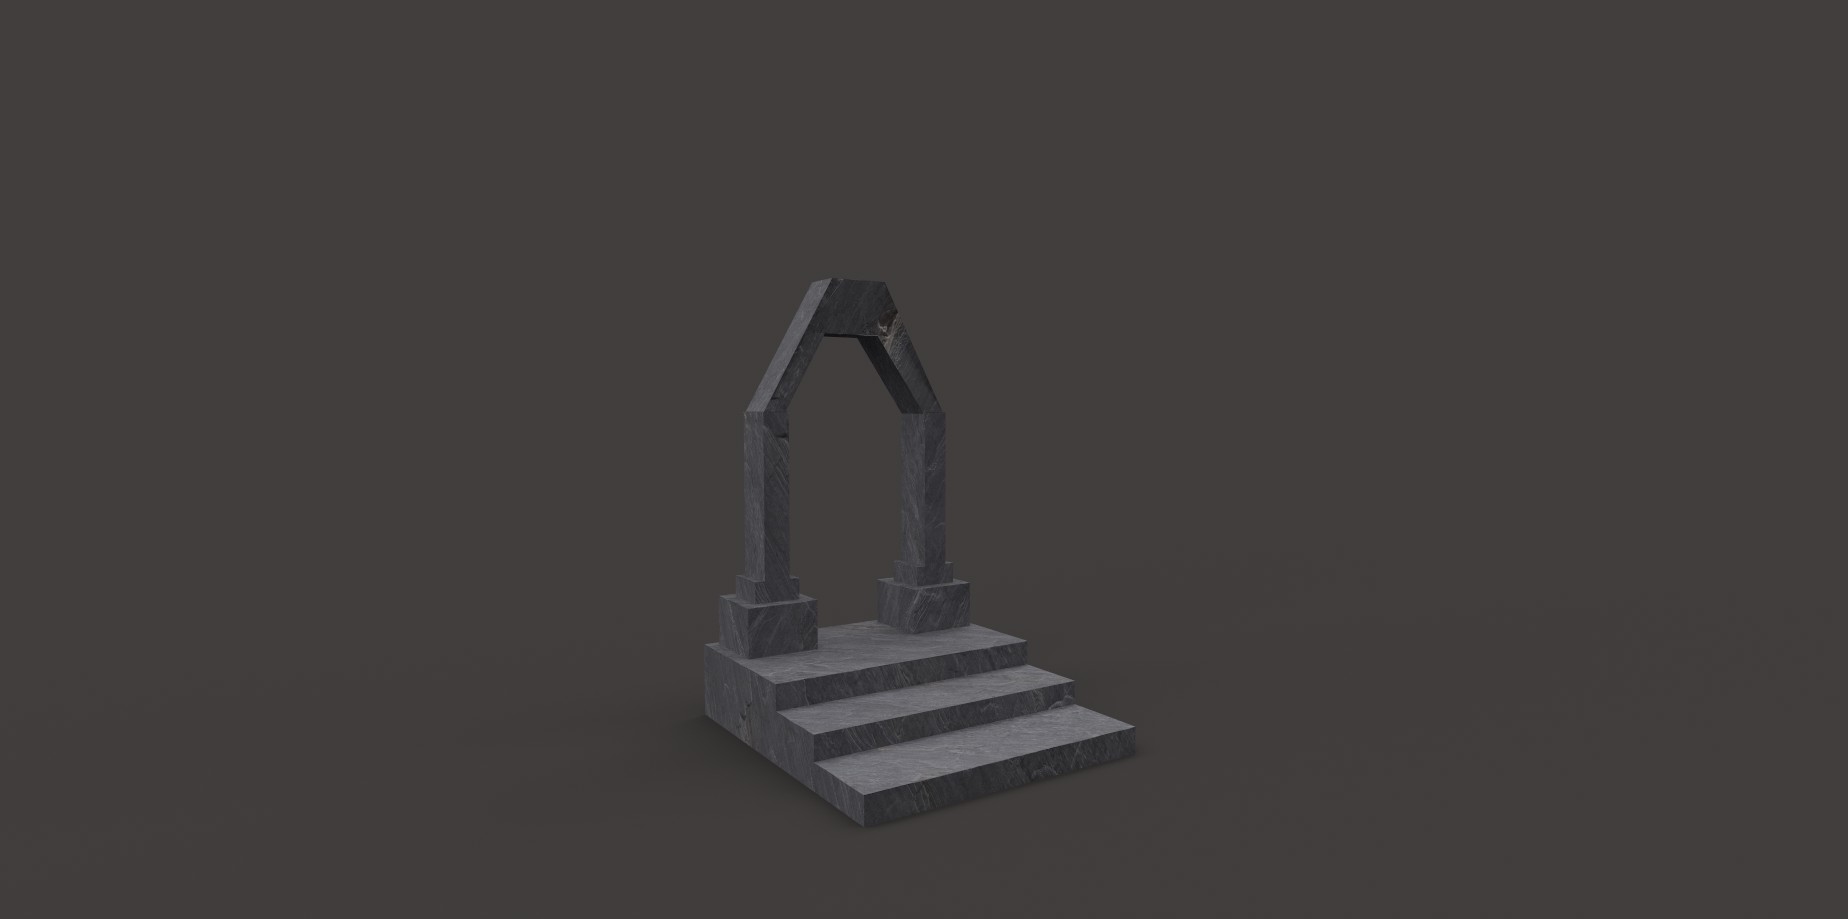
These assets were created in 3DS Max, I looked over different methods that did include a cylinder and then curve it to create the arch however i felt that I looked clunky and not what I desired so I recrated the assets and used 3 boxes to create the asset. I then began checking the UVs which was where I discoverd some issues that included overlapping verticies which would have stopped me from texturing the asset. I used a simple stone smart material.
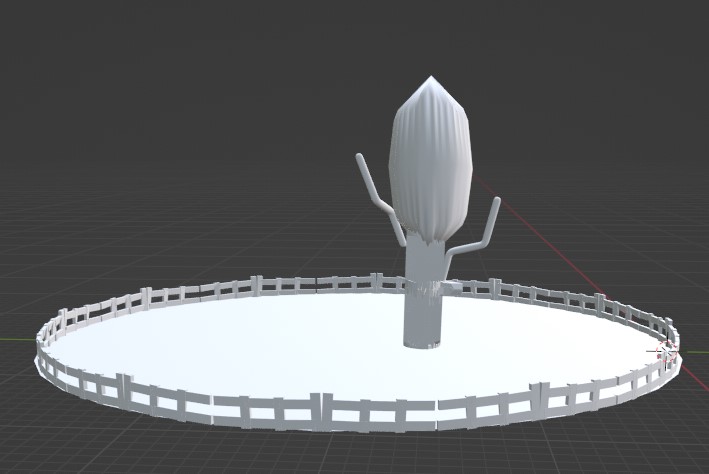
1.4 SubSurf Modelling
This second lab gave us the oppertunity to work with different tools to understand how to create a simple round fence and create low poly objects like trees. Below is a small scene that is a work in progress shot without the textures. I feel i can make some improvements to the scene but I also felt that I needed to detail my strenghts and weakness while working with a 3d software like blender. I never got around to texturing this asset mainly because the model was having problems importing into substance painter and I modelled this lab within blender however this was not something that I felt confident with so I submitted and posted the work I done.
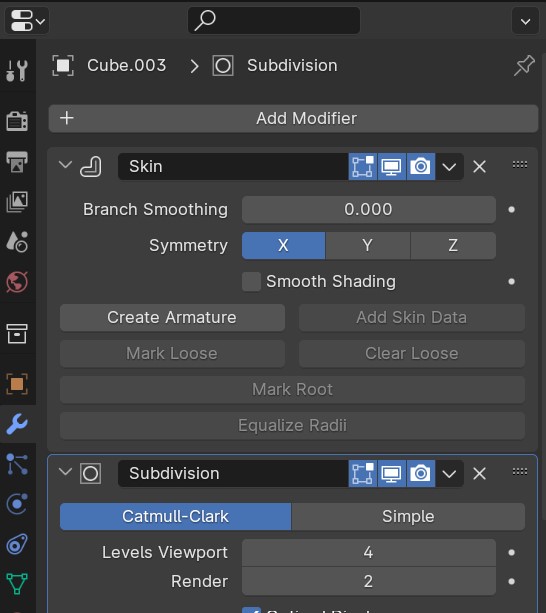
1.5 Sub Division Tool and Skin Tool
The screenshot above, shows the 2 tools that I used to create assets using verticies. This method involved me extruding lines to create shapes that can be turned into assets. The process is creating a vertices then using the correct tool (Extrude) which can create a shape. Once this is completed you can add the modifiers Skin and Sub Division tool. These both allow you to create the thickness of the object.
1.6 Abstraction in 3D Stylized Design
For this lab we were given the task to create an asset or character that is related to some assets that we were given, The image I chose was cartoon/medieval house. I felt that I could create a number of different models and objects that would be perfect for the scene. I had 2 main idea: Sign post or a Postbox. I thought about techniques i could show of and what tools I needed to practice with.
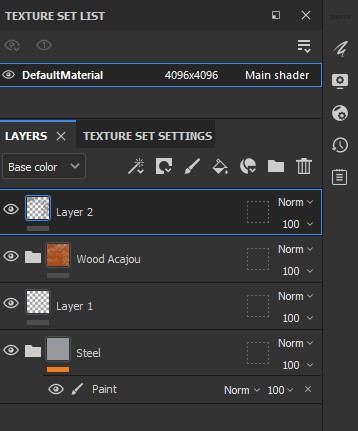
1.7 Abstraction in 3D Stylized Design (Textures)
The process of designing the textures for the sign post included me using specific layers and organising them in the best way possible. This means naming each layer so I keep track of which area I was painting. I only used 2 textures which was more than enoigh for a low poly model. The next stage of working within Substance Painter was to take high render screenshots. I explain how you use the rendering system below.
SignPost Iteration
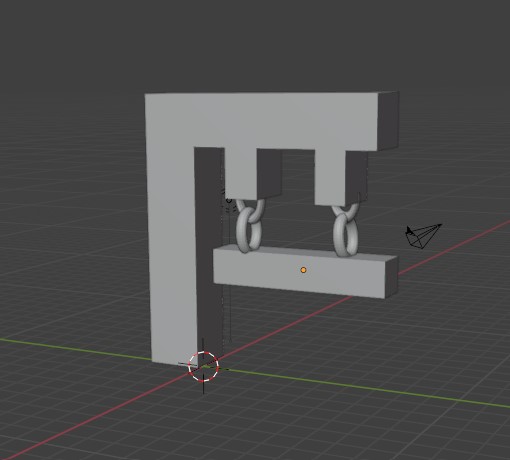

To create the chain to hold up a sign I used a Torus to detail the assets and create duplicates to design my chain for the Sign. Below are Two high resolution screenshots. To create this asset I used 3ds Max and Substance Painter.
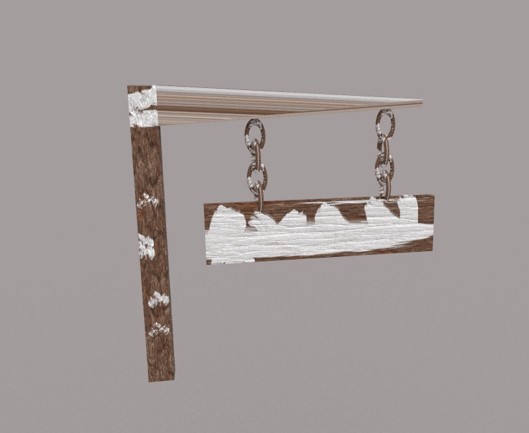

I have managed to complete my own task of designing a asset that looks good and has a similar feel and idea to the image of the house that was presented to us. I felt that a more medieval design would fit better with the wooden design of the house and its features. I took the approach that from the look of the asset that I was given to base my idea off, was that it needed to feel more authentic to the time period of when the house came from. In summary I belived I was able to improve my abilities with modelling and with texturing.
Character Animation
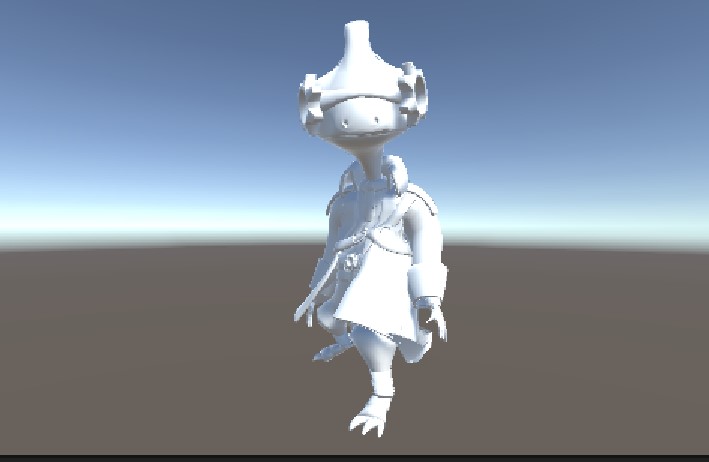
We began learning about character animation and the rigging process, below is a character we were able to work with, NOTE: This character is not mine and the work I completed was me learning how to rig and animate a character. I managed to complete the lab and allow the charater to respond to the movemeant code
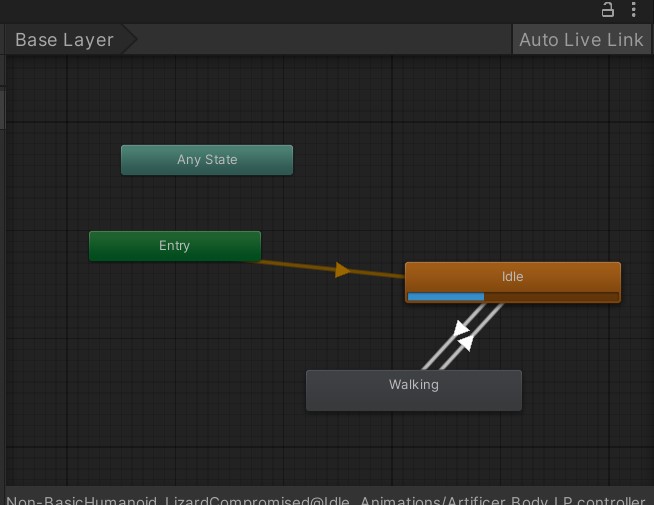
The second screenshot shows me working with the animator system with unity, we began making sure that the animations began with a simple idle animation then began testing if the charcter can go from idle to walking and this worked like it should the arrows allow me to connect the two animations together.
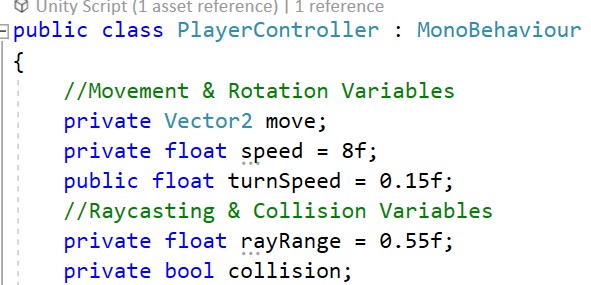
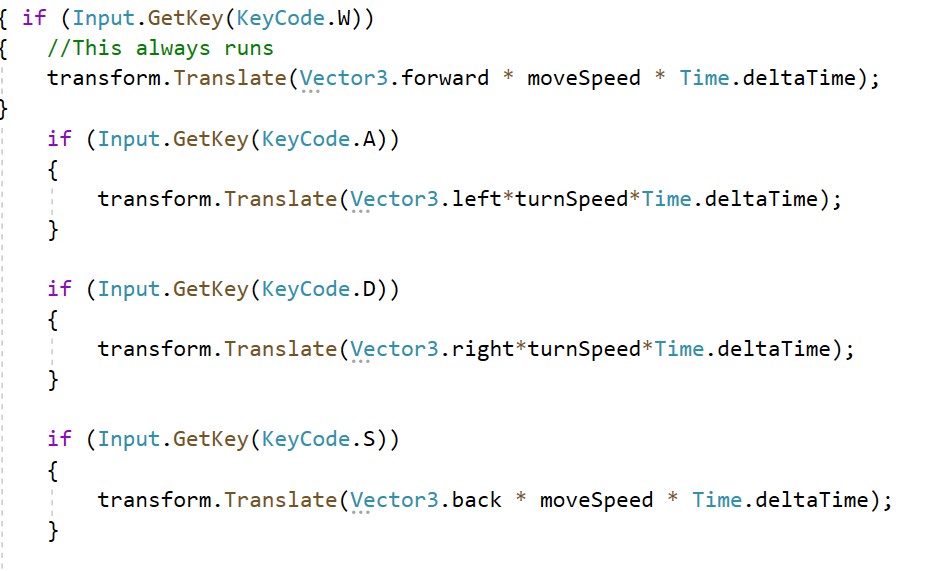
Finally, below is the code for the character to peform these like a player is controlling the game. This was where I encounterd problems where the charcater was not responding to the code. However I felt that I made good progress considering I have got little to no experience regarding animations
PhoneGroupGameProject
The Second group game project was to create a game that was to work with either a phone or a nintendo switch the game was involves the player having to escape a Armoured soldier. The game takes place within a restarunt. The game had one area that we had to involve which was to have a health system that the player can heal during the game. I was first tasked to create a 3d model for the game and I made a gun. I also had to produce movement code.
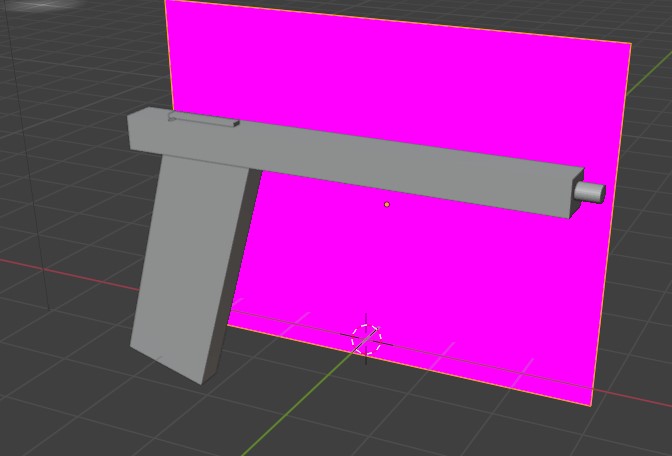
1.1 First Iteration of 3D Model
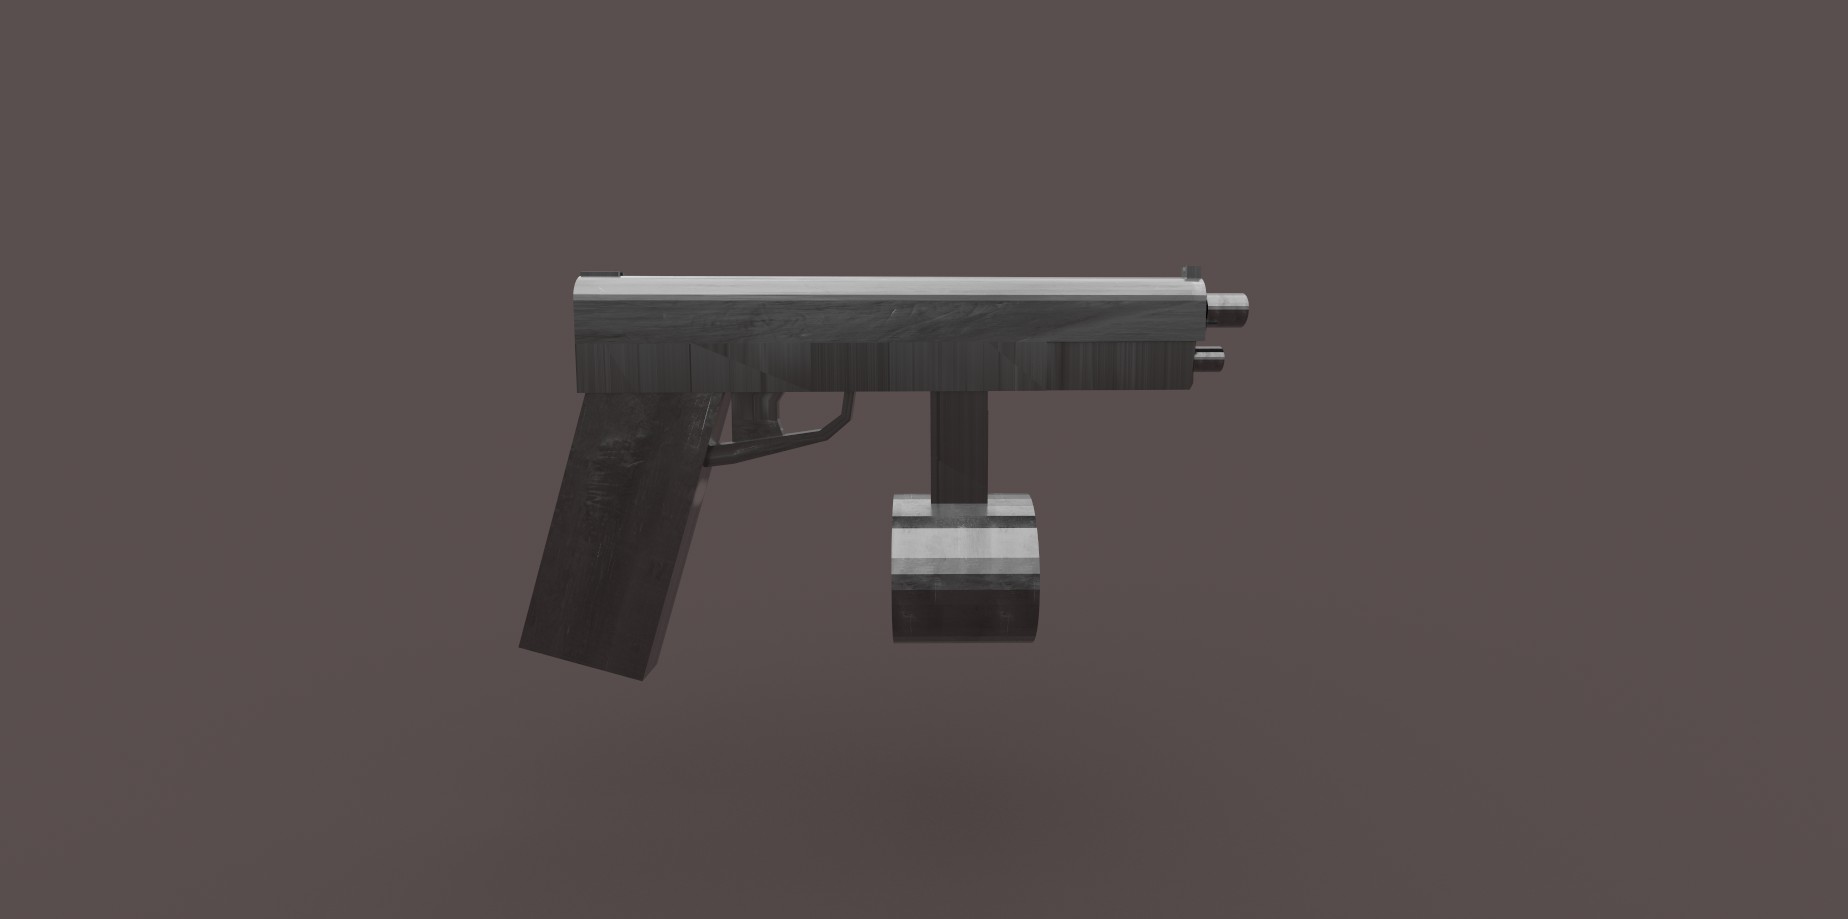
1.2 Chosen Texture

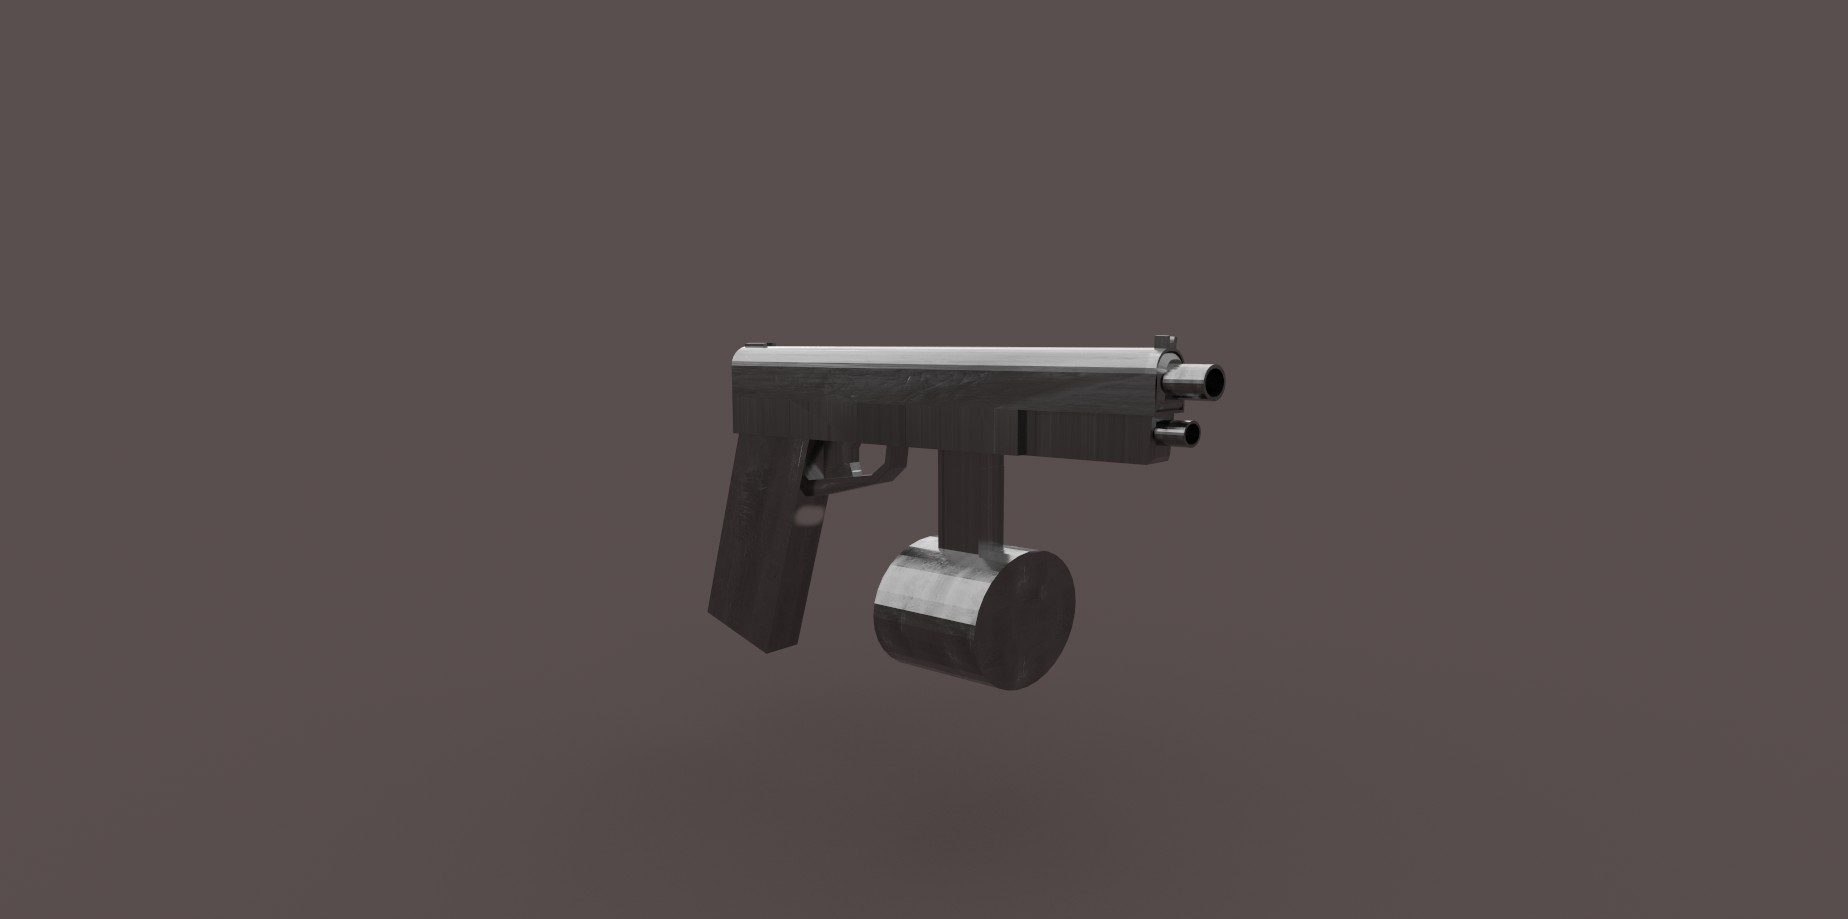
Final Iteration of 3d Model

1.3 What software did I use
- Blender
- Substance Painter
- Unity (Game Engine)
- Visual Studio
1.4 How did I create my assets?
I began with planning how to create the weapon for the game as I wanted to create a pistol, as I was new to making weapons in Blender. I began with the designing a iteration which can show the first approach to the models and my original ideas. I then began making the model which involved me using the clone tool which is the best way for creating the double barrel on the gun. I made mistakes during the creation of the gun and I only noticed this while texturing and the deadline was fast approaching and i decided to stick with it.
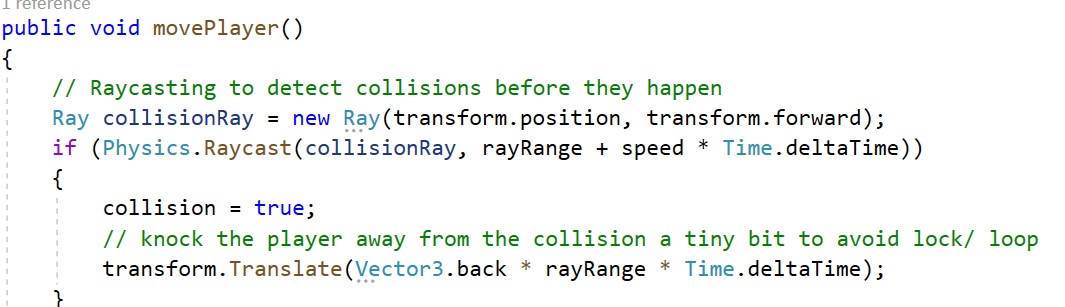
Script Writing (Movement Code)
I made a simple script so the player is able to move, I used Visual studio which is perfect for C++ and other gaming code. The process of creating this code was to read through old labs and make sure that the code would work with a new asset within the scene.
1.5 Materials Exercise
The next lab gave us the oppertunity to use a ready made scene and create textures for the scene. We used different techniques like density and strenght that changes the type of colour we apply to the assets in the scene. The scene was provided by our lectuer for us to practice on. I began creating a sand design for the ground and then added coulours for the trees. I added some lighting to the scene to create a night time scene for the enviroment.
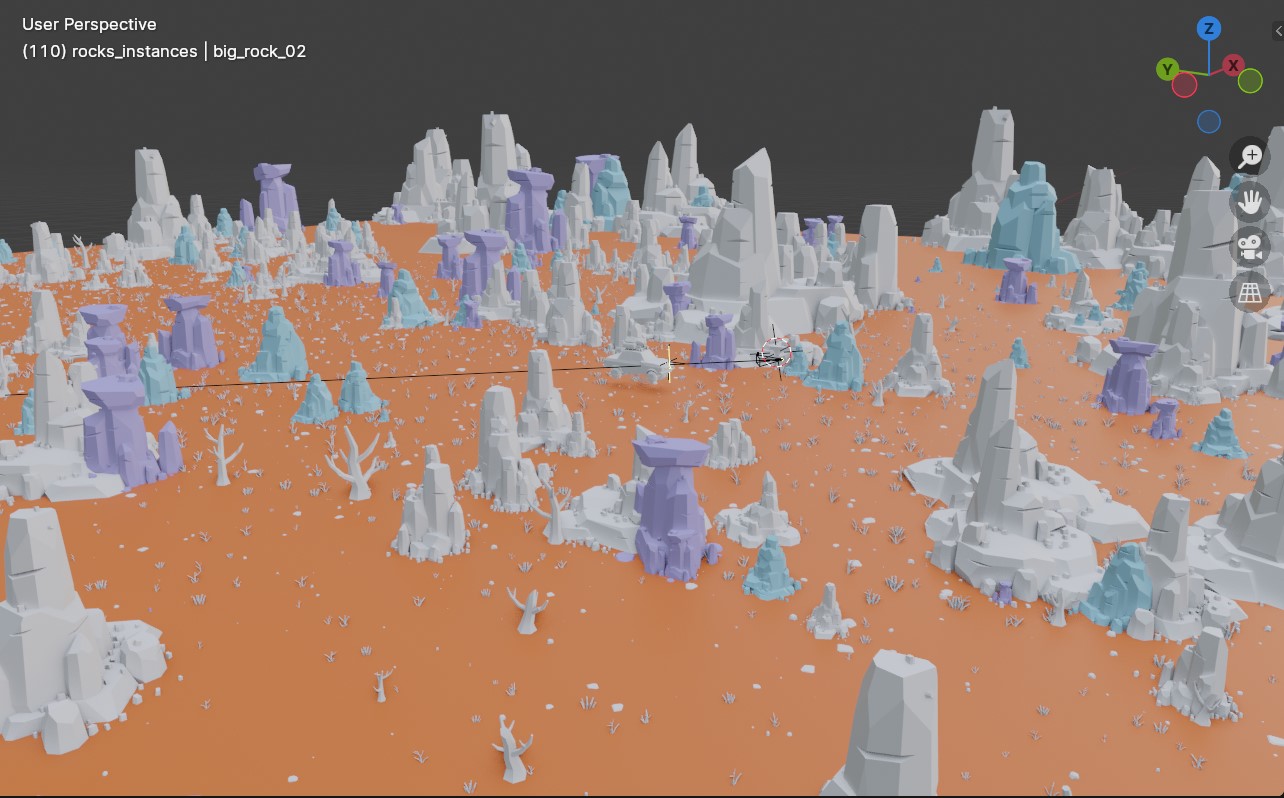
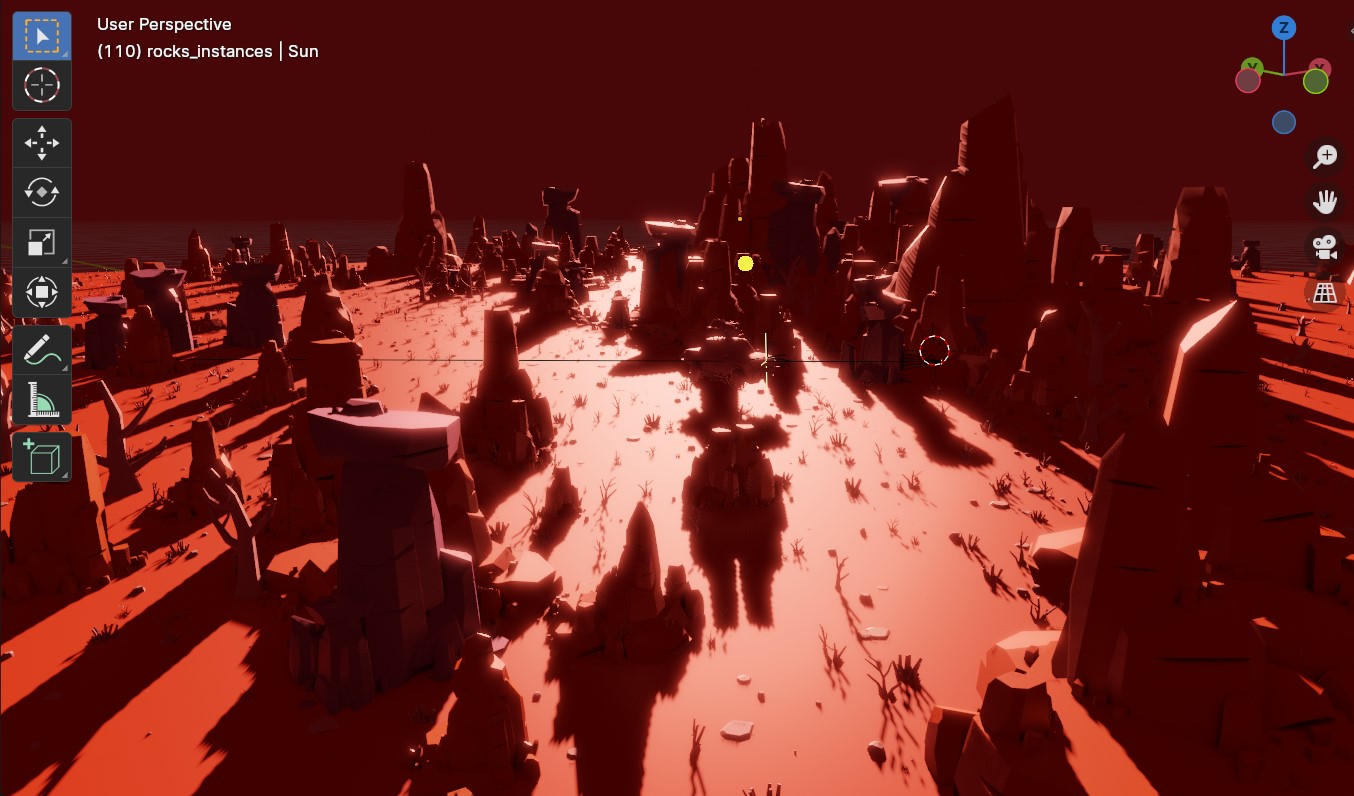
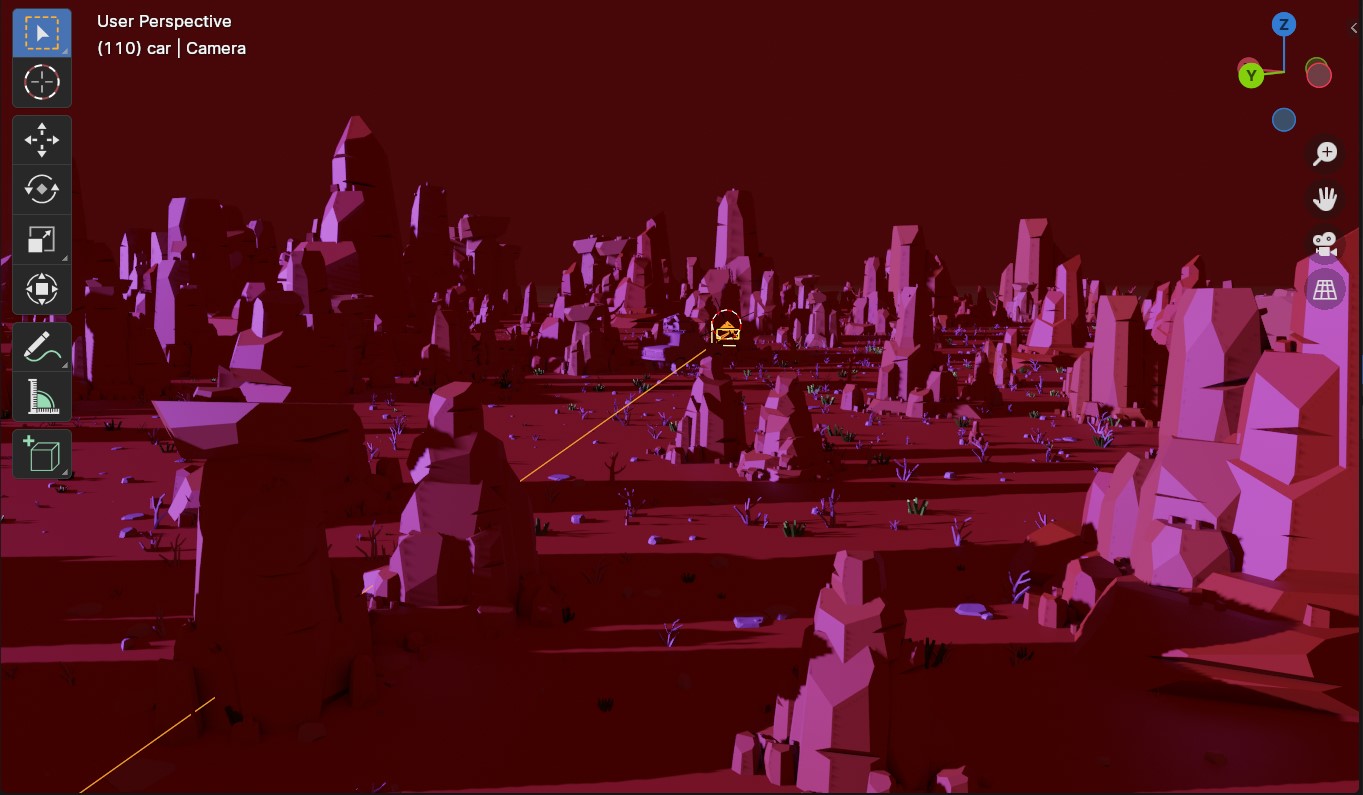
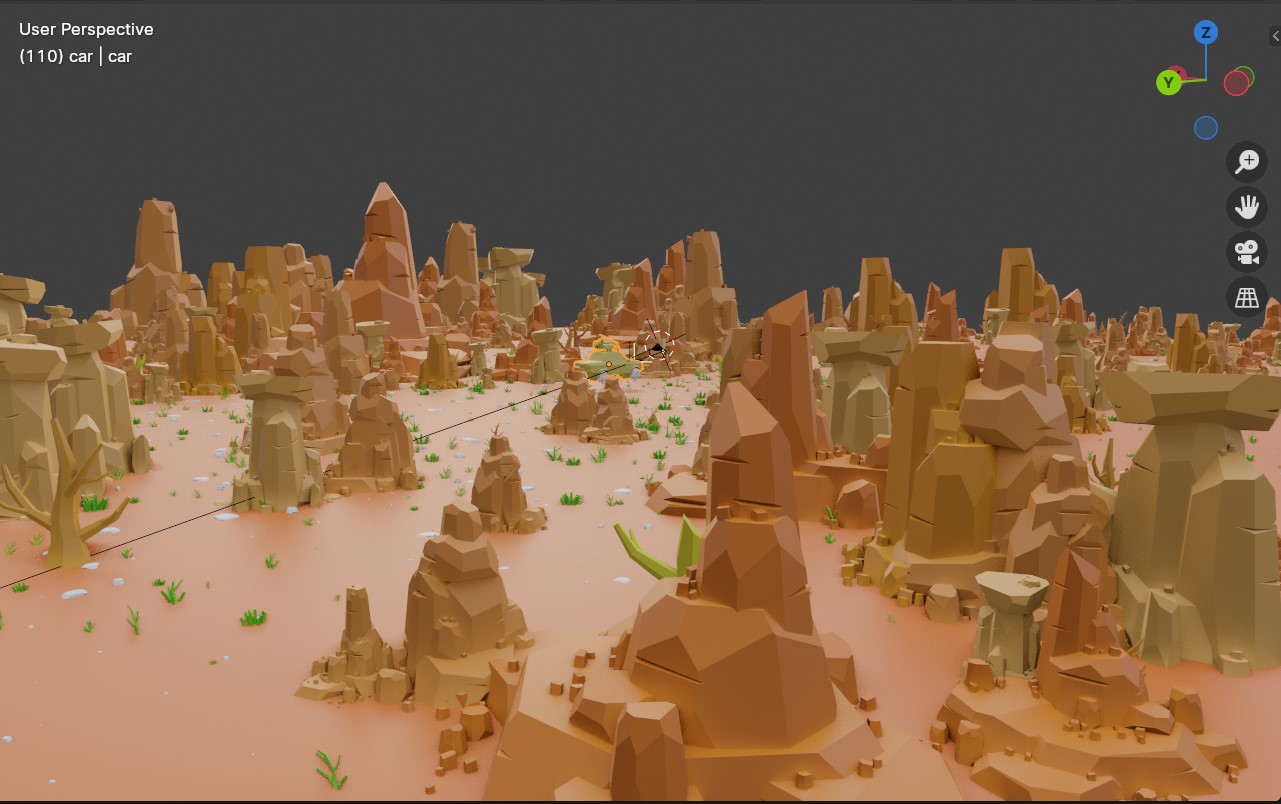
The Final image above is my finished work, I wanted to play around with lighting to make the scene look different and also to show how I adapted my work. I took 2 different approaches, one was adapting lighting into the scene which gave me the oppertunity to create a night time scene. This was to show my approach to learning how to match the lighting with the textures.
1.0 VR Interactive Project
This is the start of my final project of the semester, I began working with my group to establish roles and made sure we all had ideas and a undertstanding of the aims and goals of the project. The project we decided to work was interactive educatinal history game where the player could explore a historical setting while in VR. I was given the role of designing the environment which was the Tower of London.
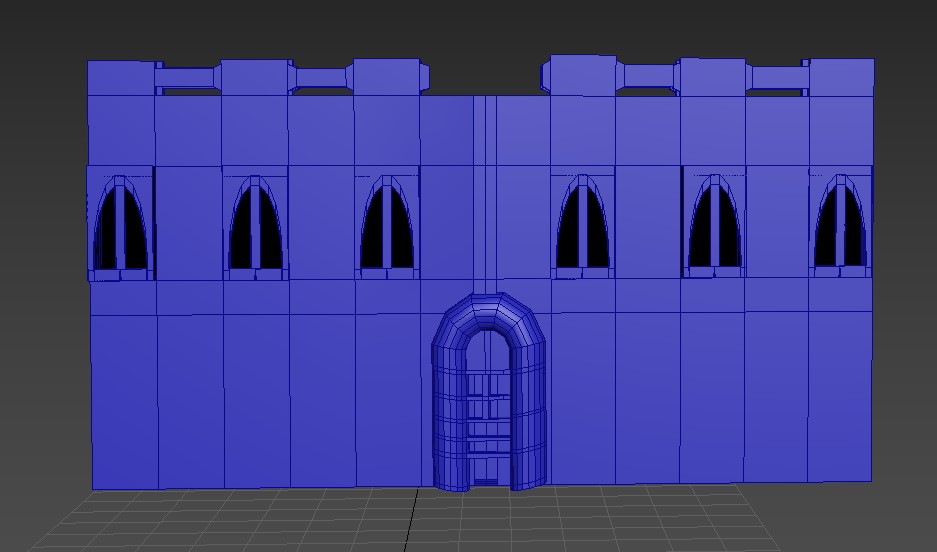
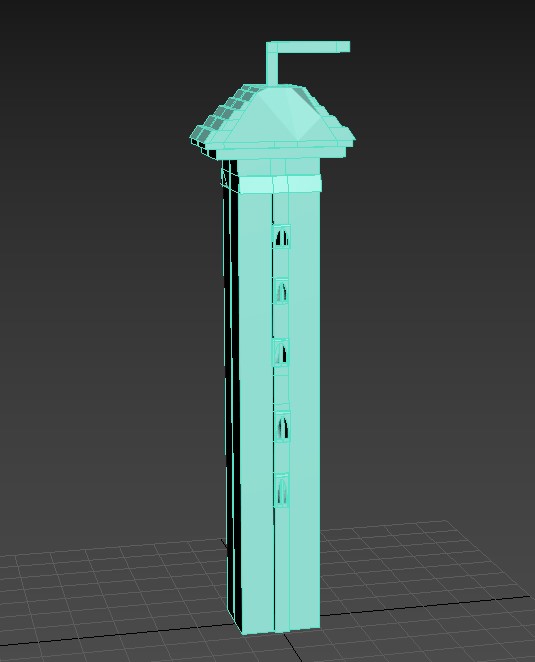
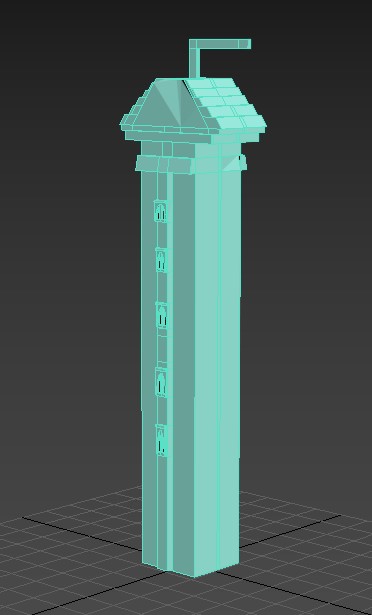
1.2 First Iterations of the Castle Walls and Towers
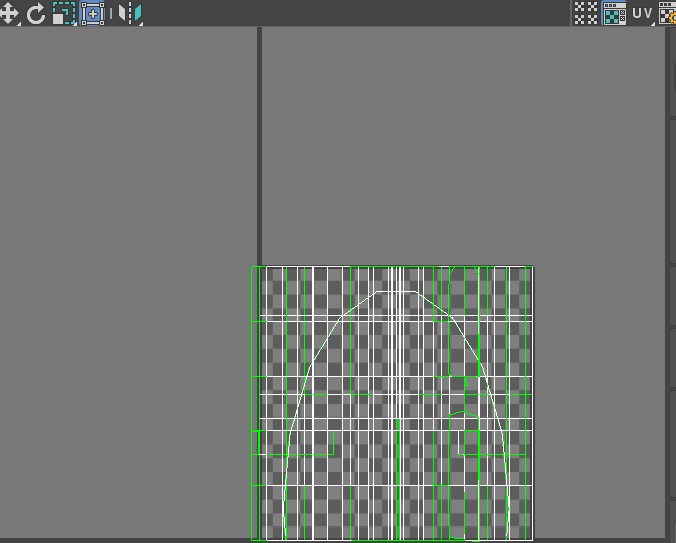
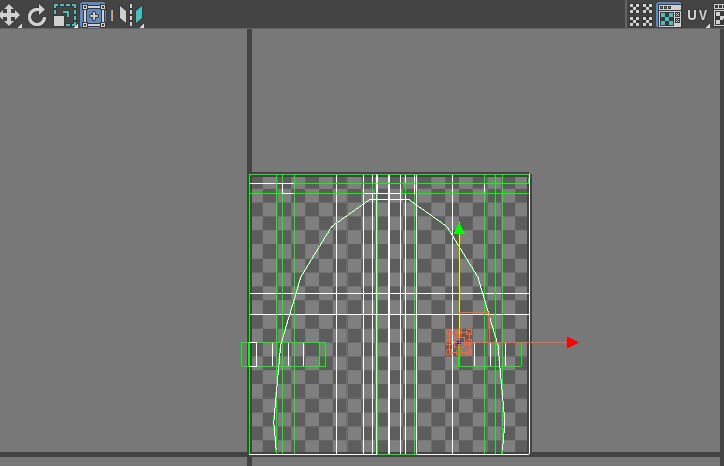
I have also posted some images that show my attempt at unwrapping, I began examining the model to see how I can control the poly count then I began working on flattening the mapping. The purpose of this to avoid overlapping polys which can affect the texturing process so I felt the need to complete it this way.
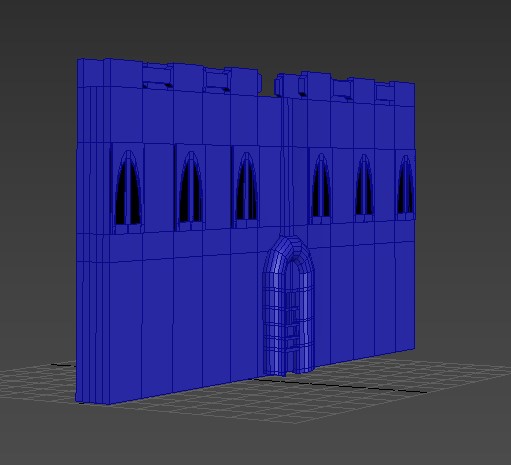
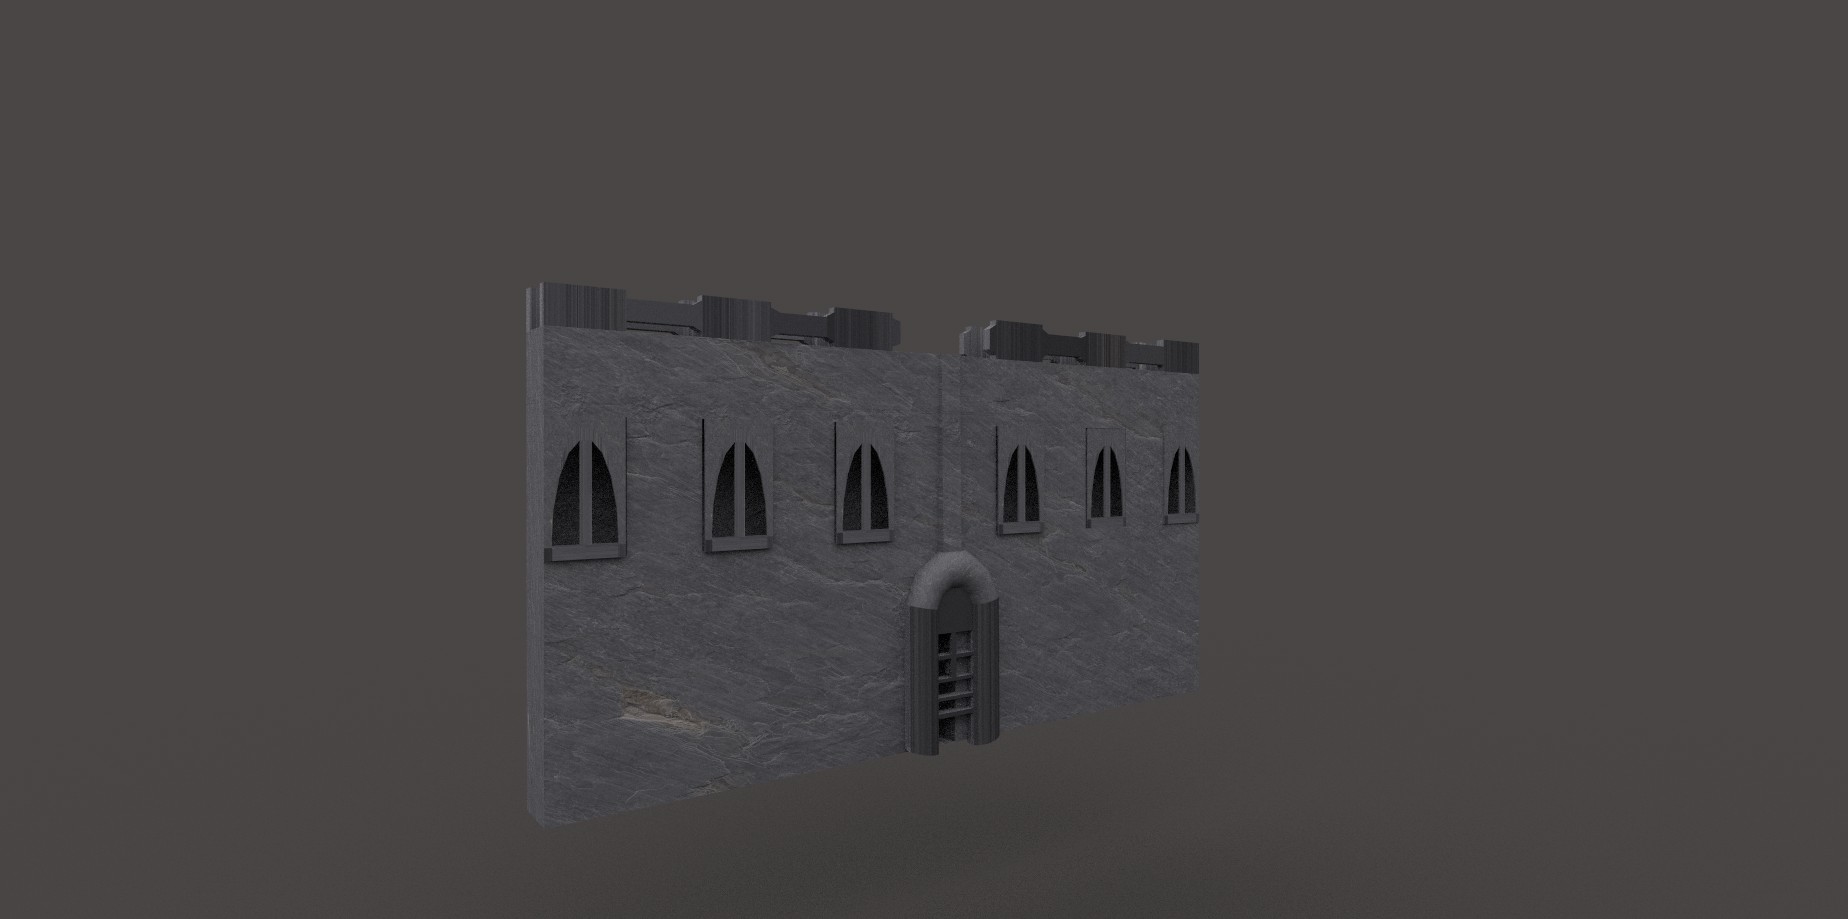
Castle Walls(Final Renders)


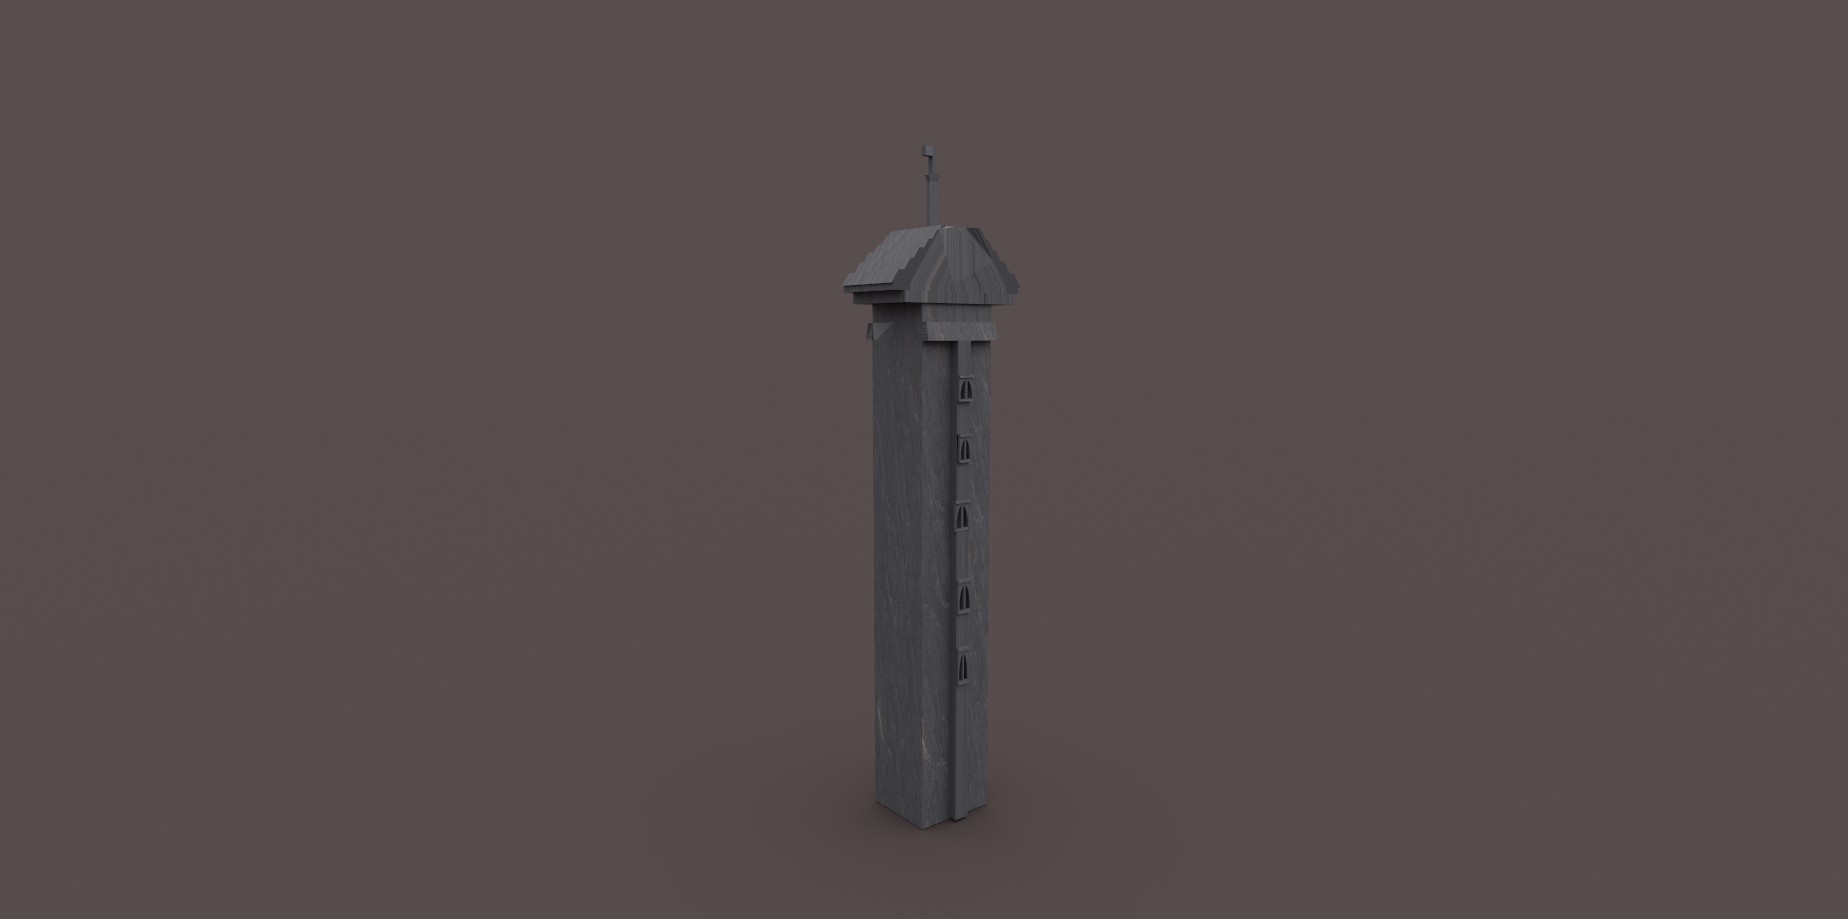
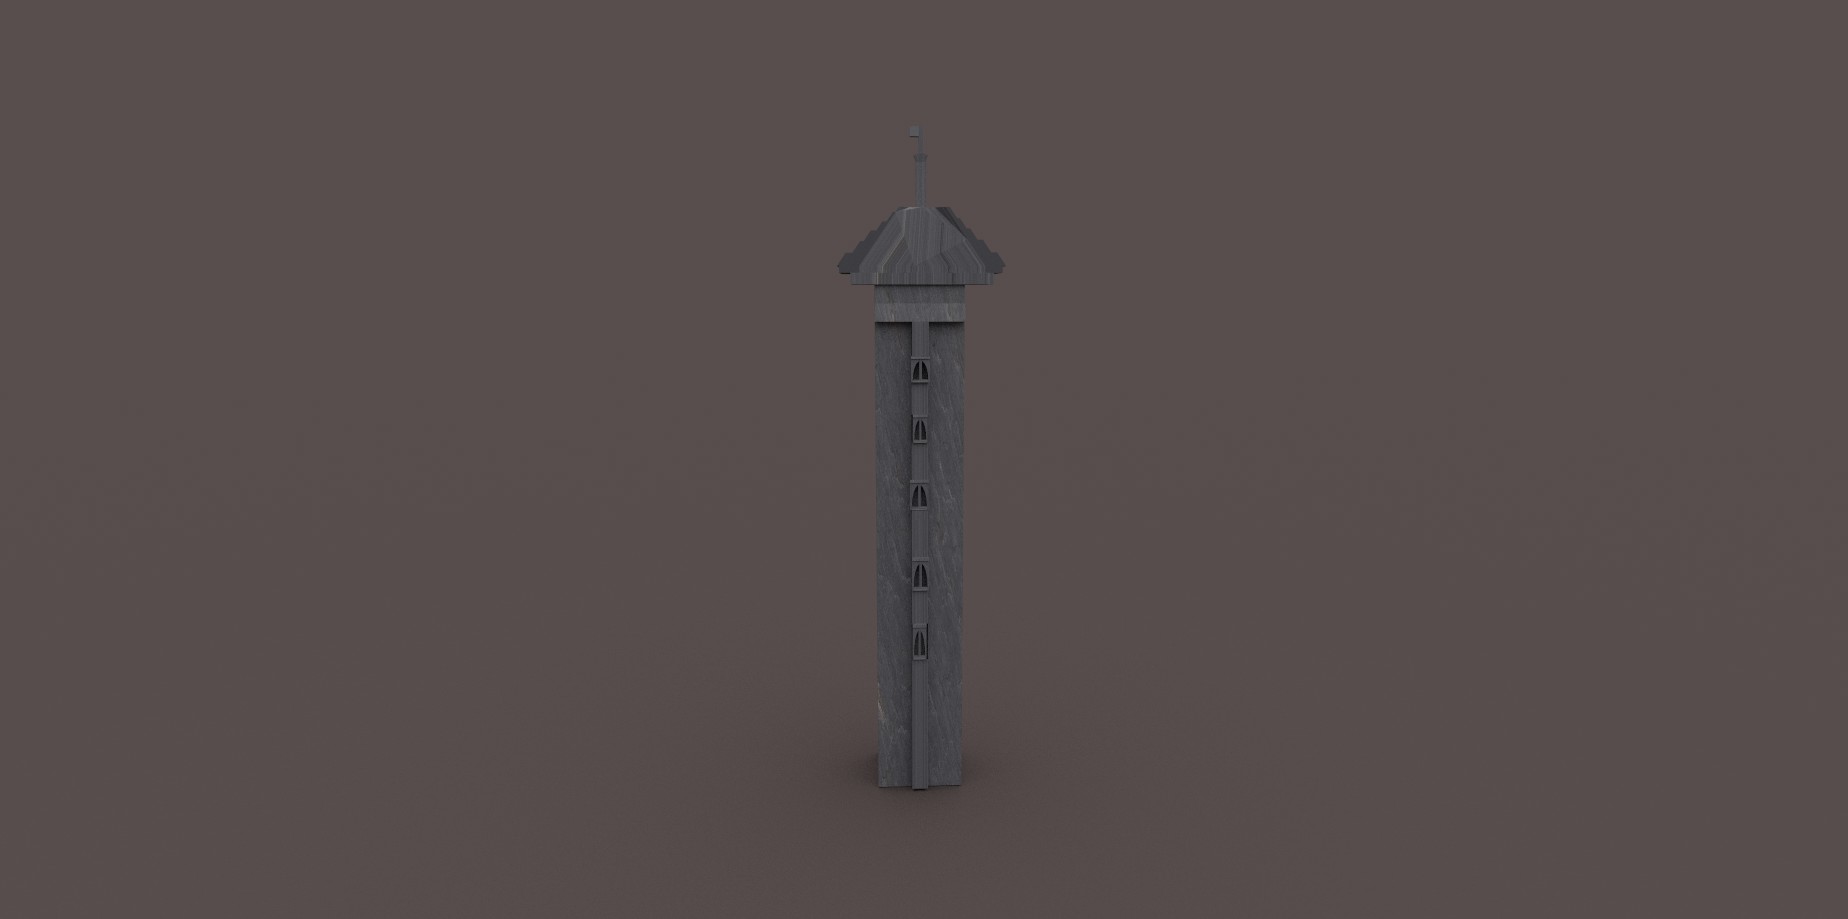
Castle Towers(Final Renders)

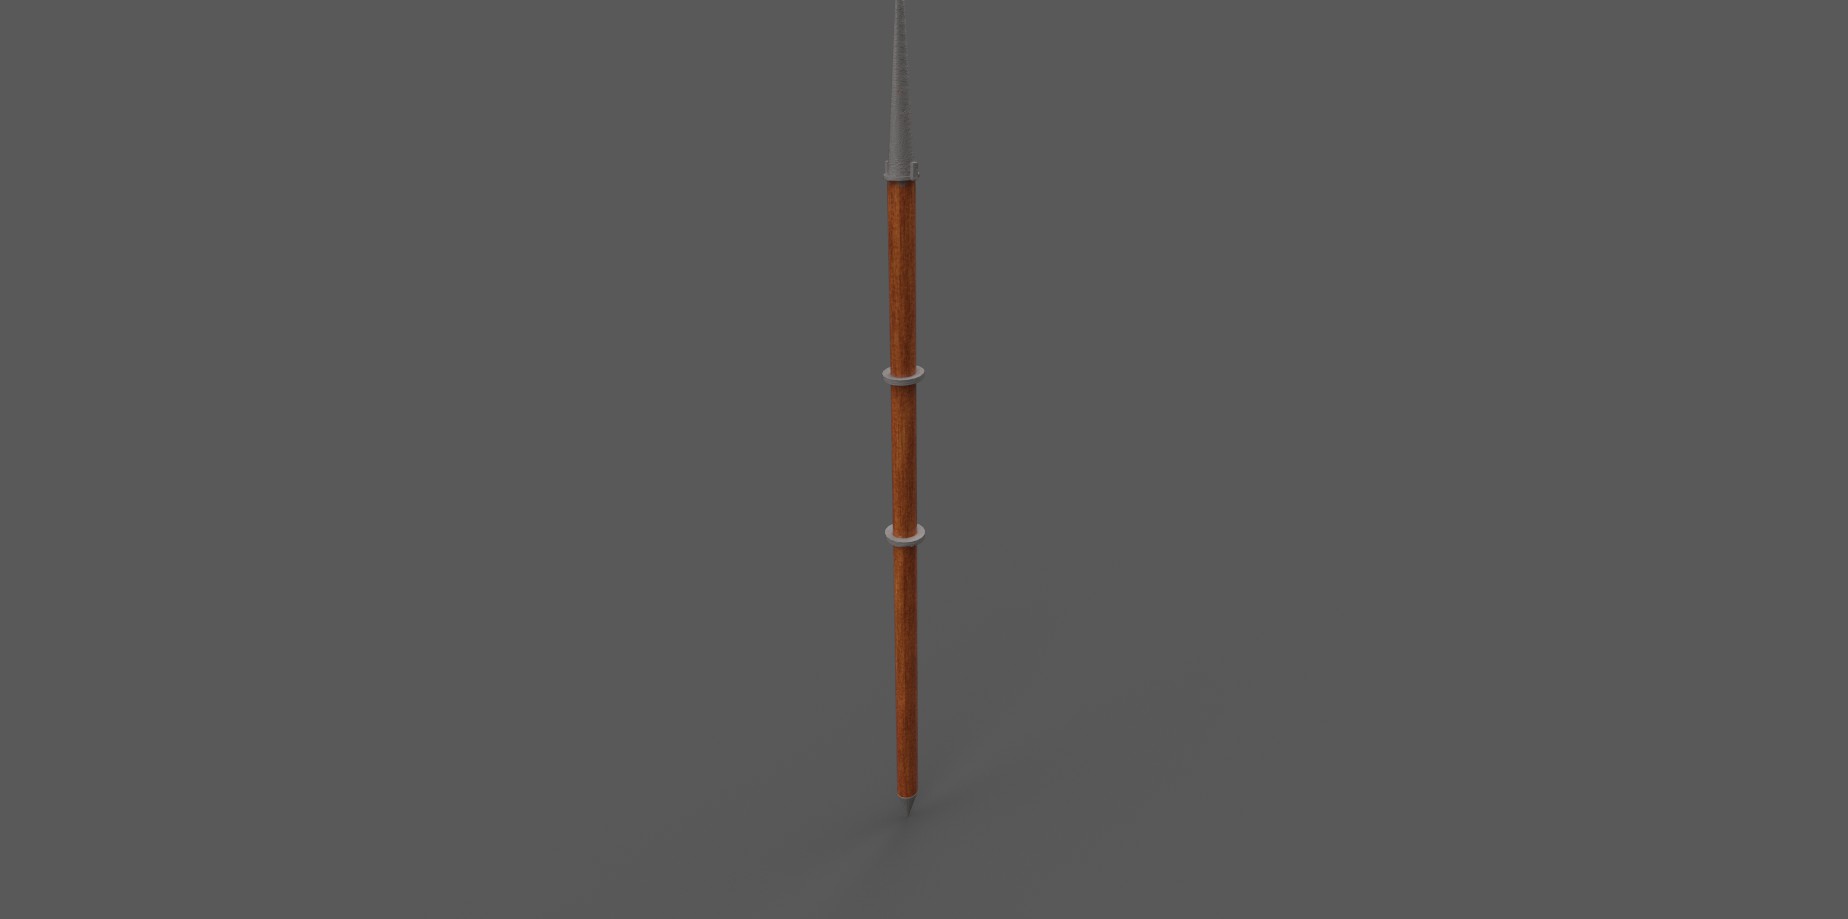
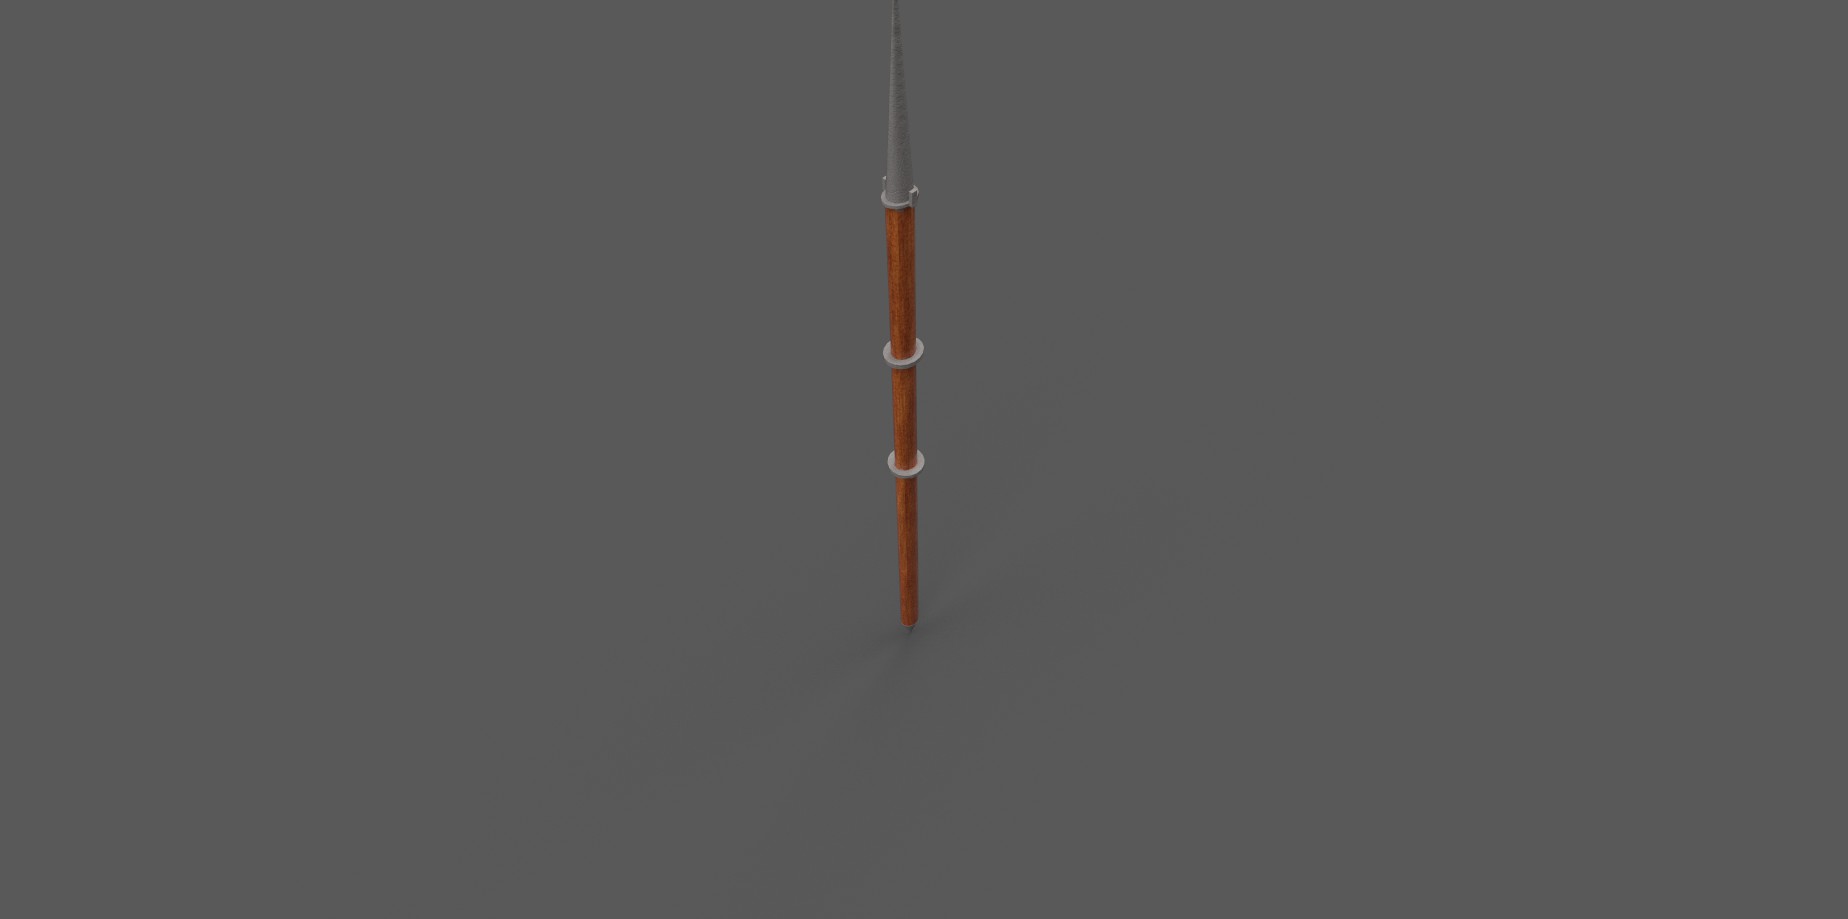
Medieval Spear(Final Renders)

Medieval Sword(Final Renders)
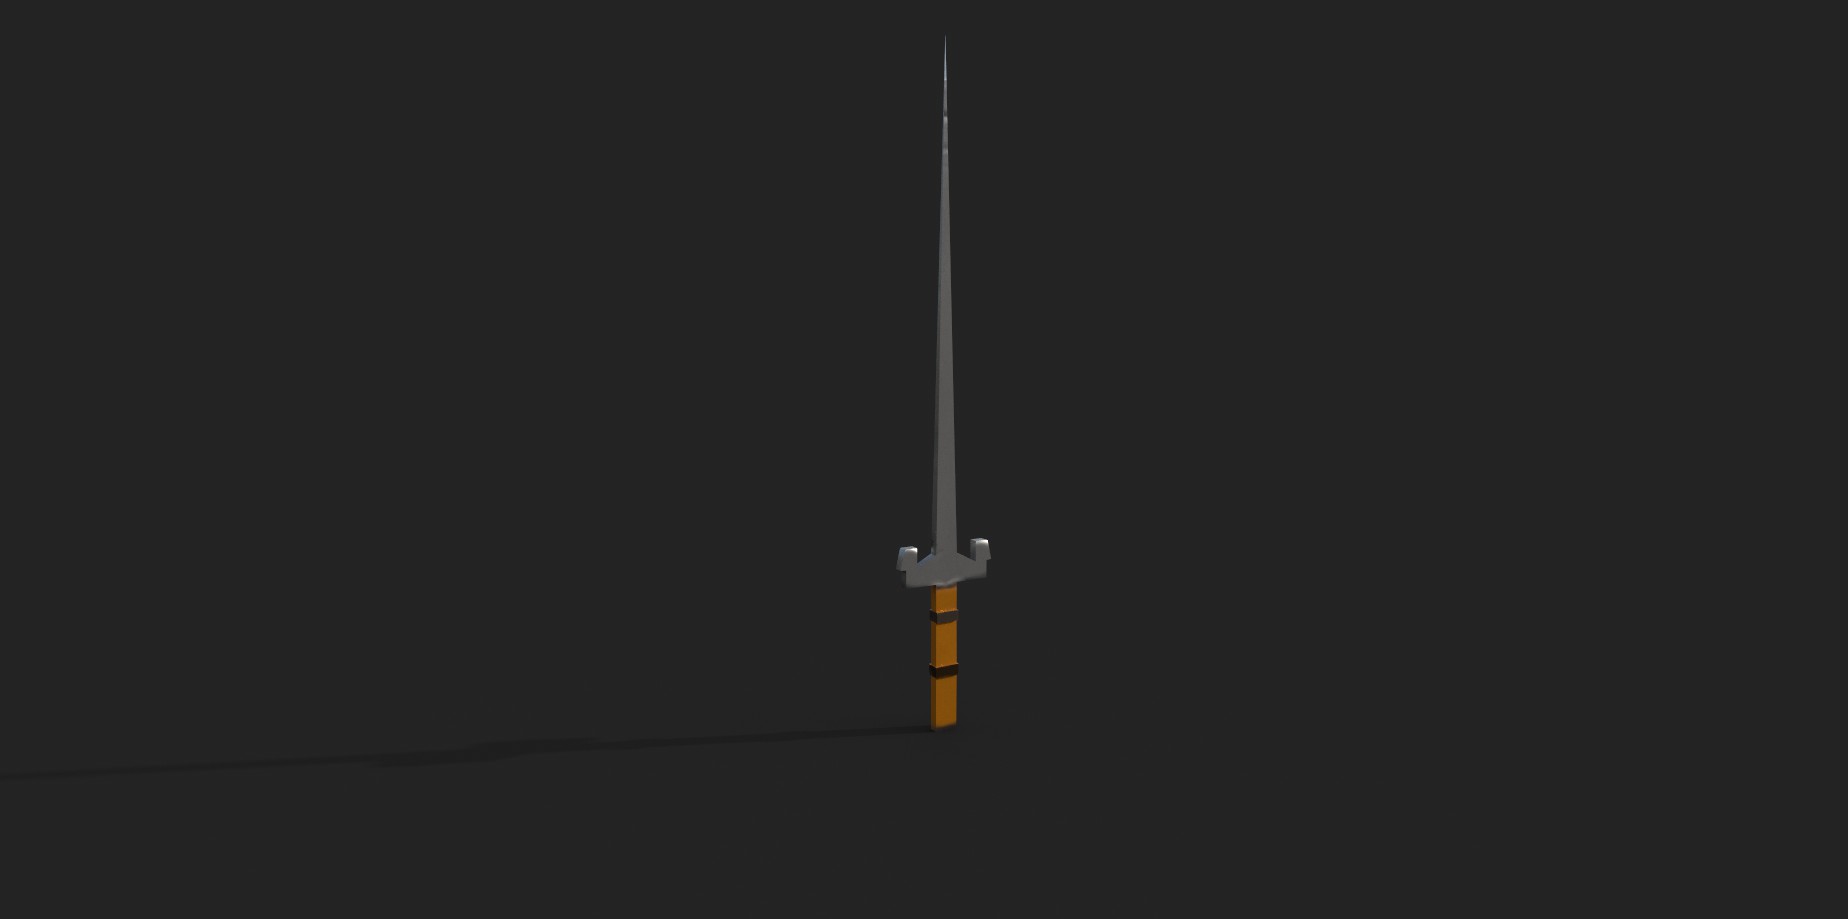
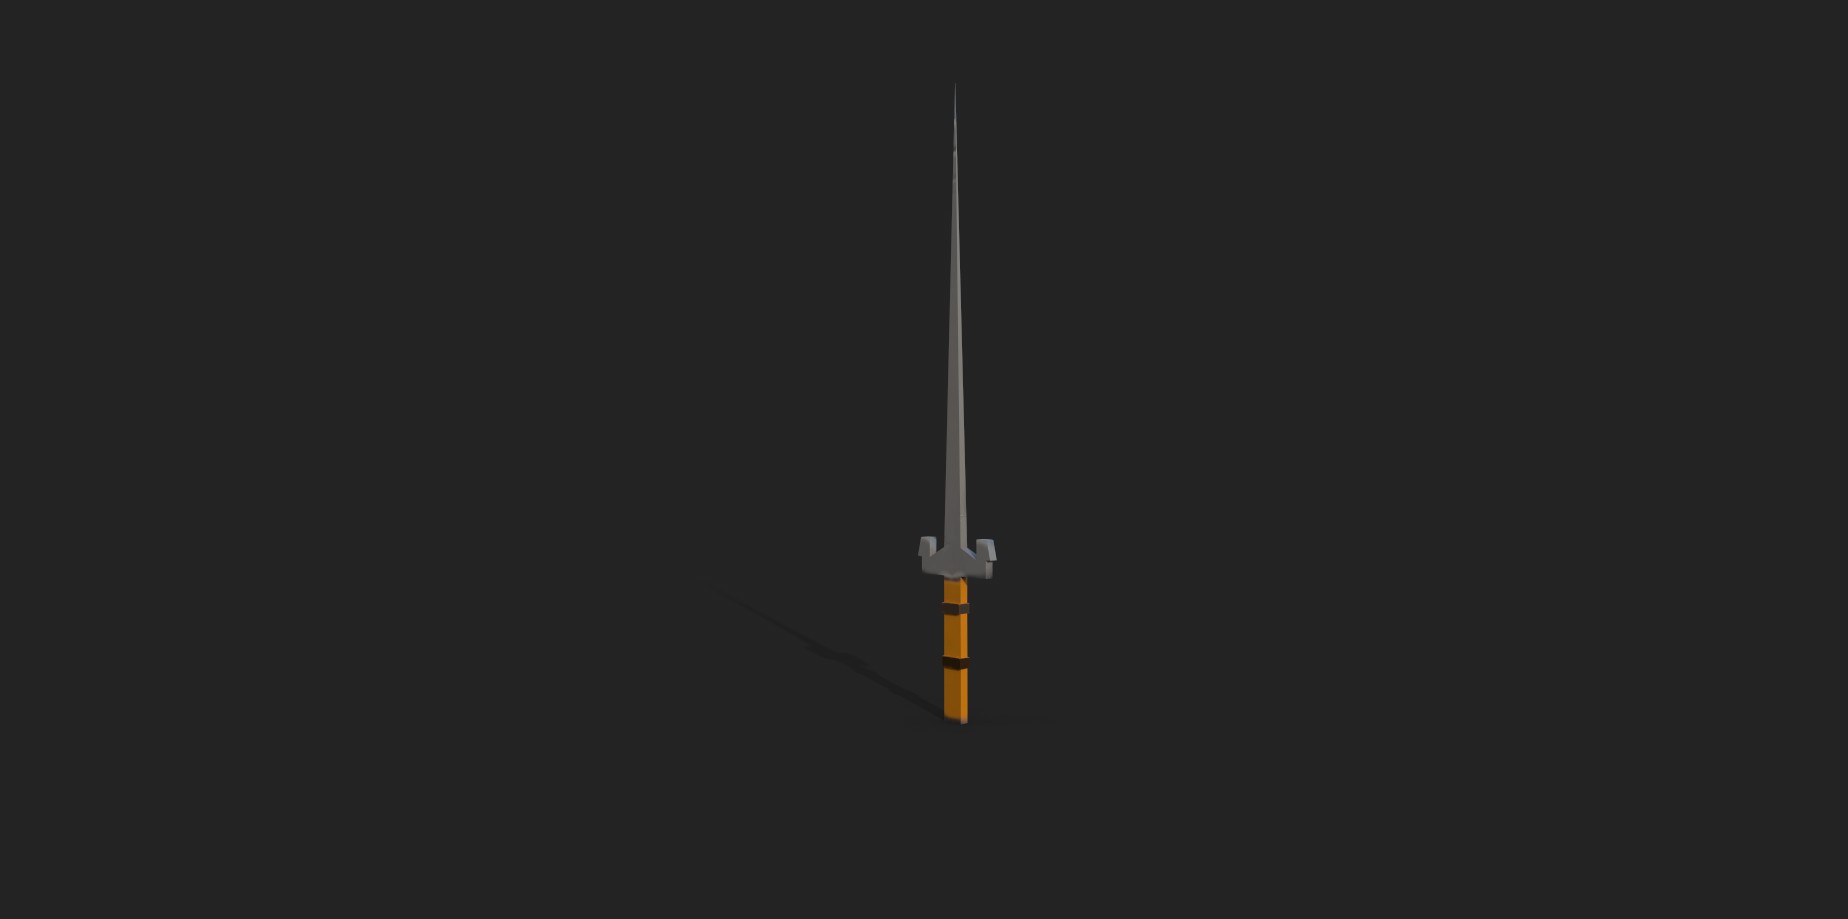
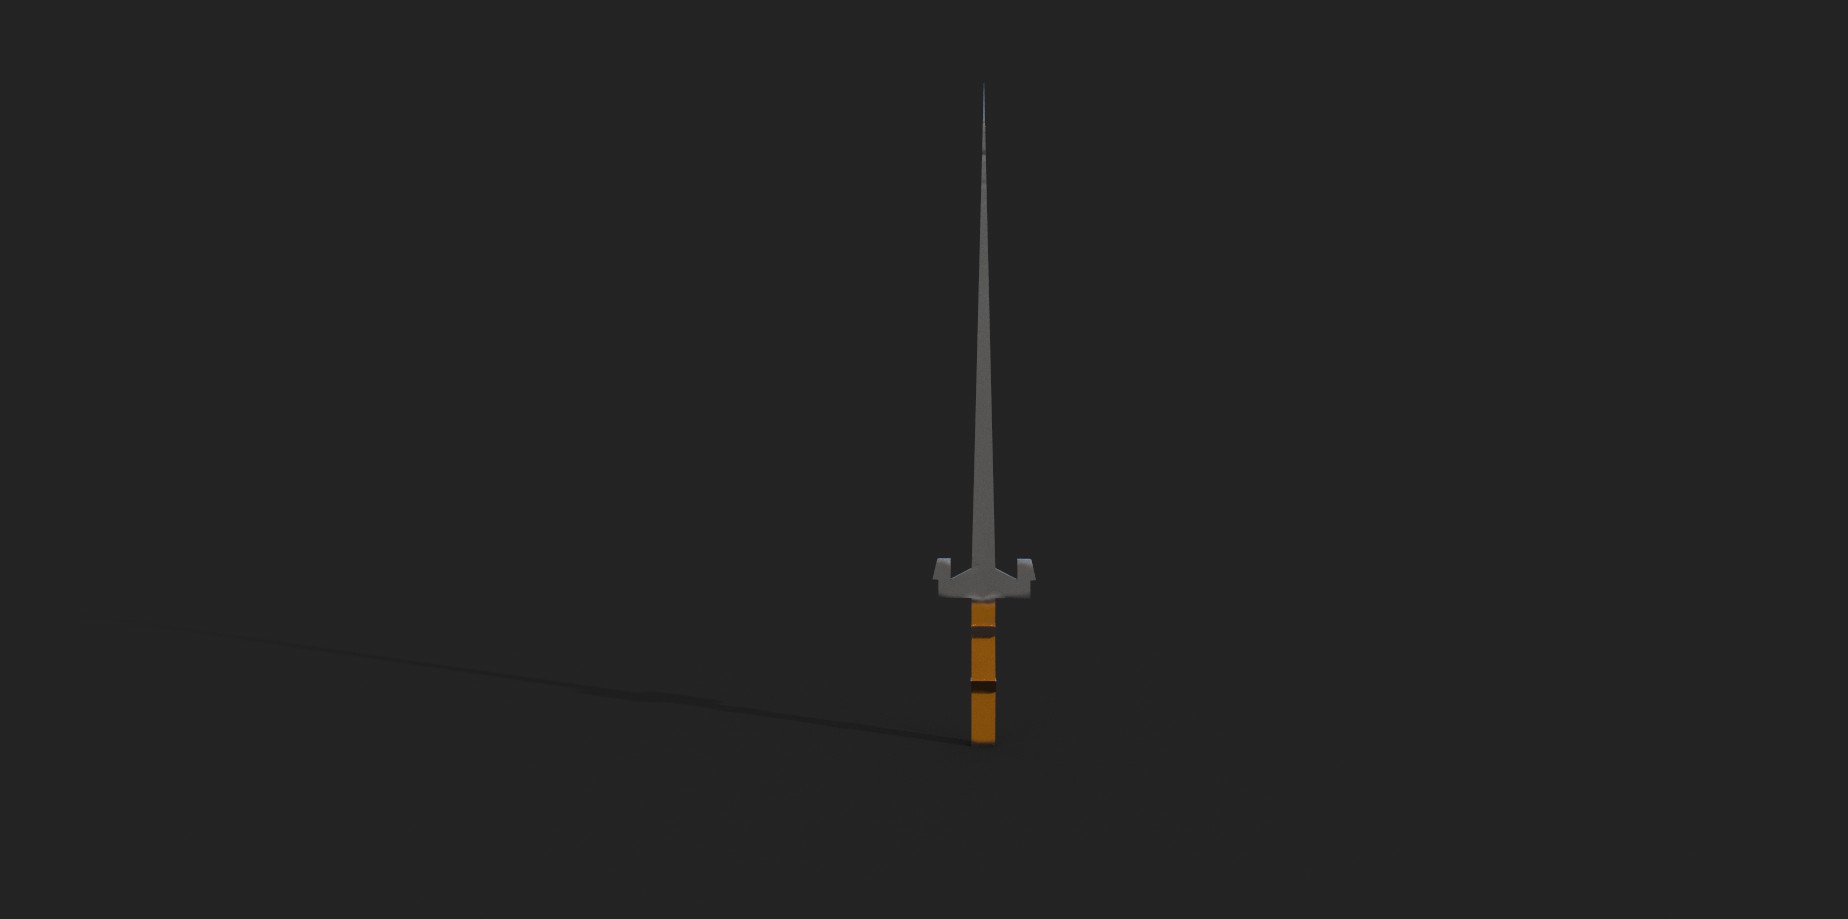
ALL MODELS USED 3DS MAX AND SUBSTANCE PAINTER
1.3 What Software did I use?
- 3DS Max
- Substance Painter
1.4 How did I create my assets?
These assets were created by using 3ds Max, which I used to create all the assets. During the modelling process I knew that I had to keep all models simple so they would work in a game engine for VR. This led me to make the walls and towers which used very basic skills like extruding. while extruding the models I wanted to make sure that the towers and walls would look next to each other so once they were modelled I decided to place these into a game engine to make sure they were a similar size.
1.5 UV Unwrapping
The next process was to Unwrap the models, I began by looking through my past work that I have completed in the past. this allowed me to focus my research and adapt the process into these models. I used the flatten mapping method which is designed to allow me to stop the UVs from overlapping which can cause problems for the texturing stage.
1.6 Substance Painter
I had to decide how I should texture the model, the main goal of this was to keep textures and the model low poly to keep the performance levels consistent as this project is for VR. The castle walls are primarily where the game will be set in so I began with simple stone textures that are perfect for the castle walls. I wanted these textures to be simple because this would allow me to place these models into Unity and make sure that they work in the environment.
How to create High Resolution Screenshots?
The process of creating renders for you're models is very simple.
- Step 1:Click the Camera Icon at the top right
- Step 2: you should now see 5 icons on the right, click on the TV Icon and that will allow you to change any settings.
- Step 3: Once chosen, click the lollypop icon and proceed to take the screenshot.
This method is how I post all my renders and It always works fine, This can be perfect for a portfolio and thats why I use it for the work that I have been working on.
Semester 2 (overview)
I believe the work I did this semester was far more varied and I was able to feel more comfortable working in the 3d artist sector, this gave me the opportunity to continue 3d modelling and showing off skills I have used before and new skills I had used in the past. I continued to use substance painter and its rendering system to take good quality screenshots which is what I used for all my models that I created above. I comparison to last semester, I had more freedom to work with different software. While developing work, I made sure to assess my work and see if I have improved and I believe that I have made good progress in my projects and individual tasks.